
Last updated November 5, 2026
 Whole-home duct cleaning
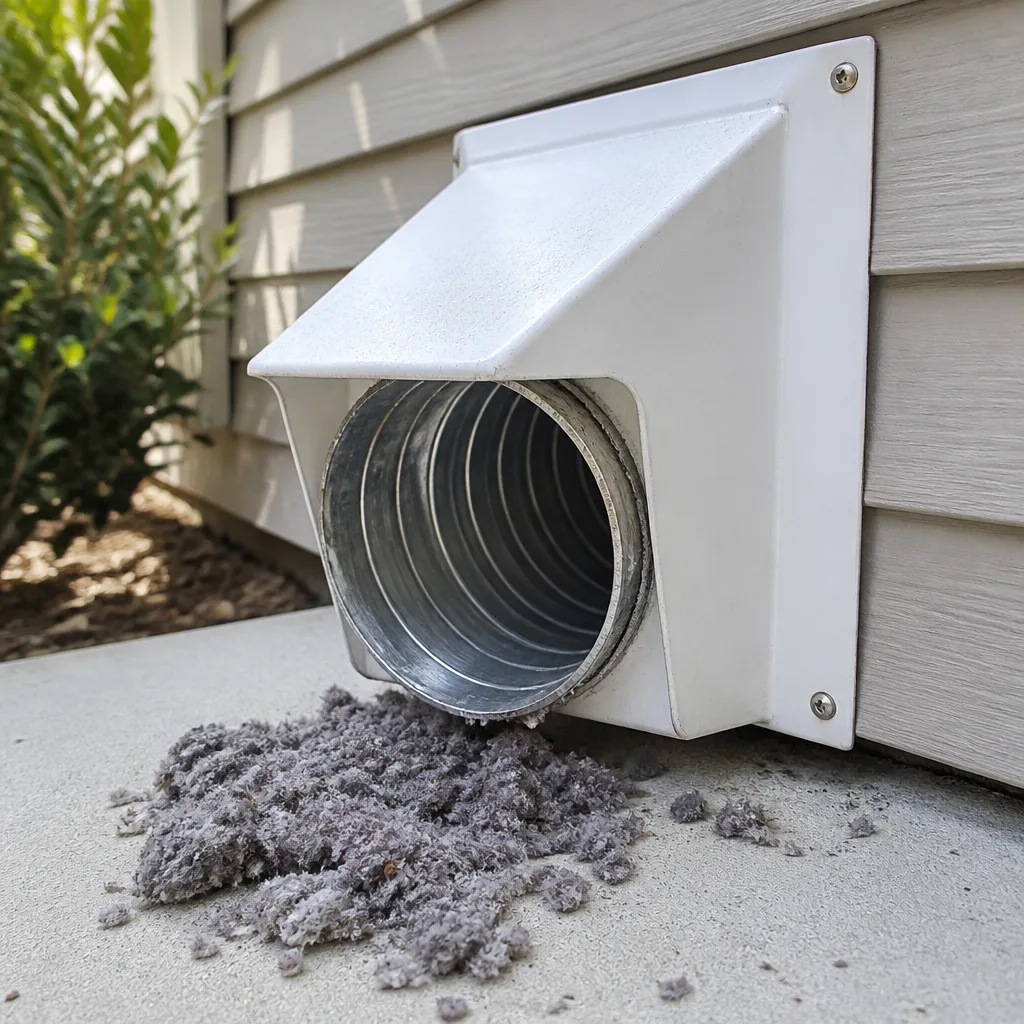 Dryer vent cleaning
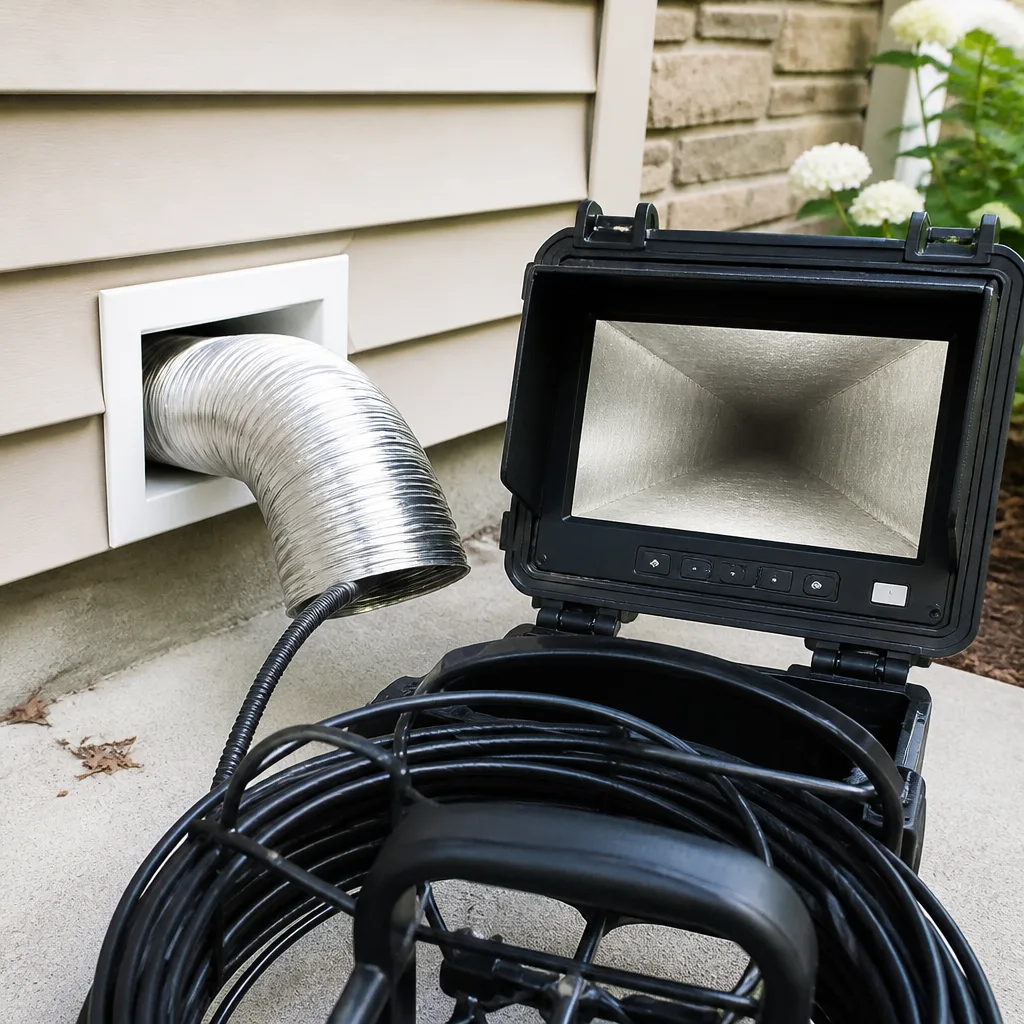 Camera inspection
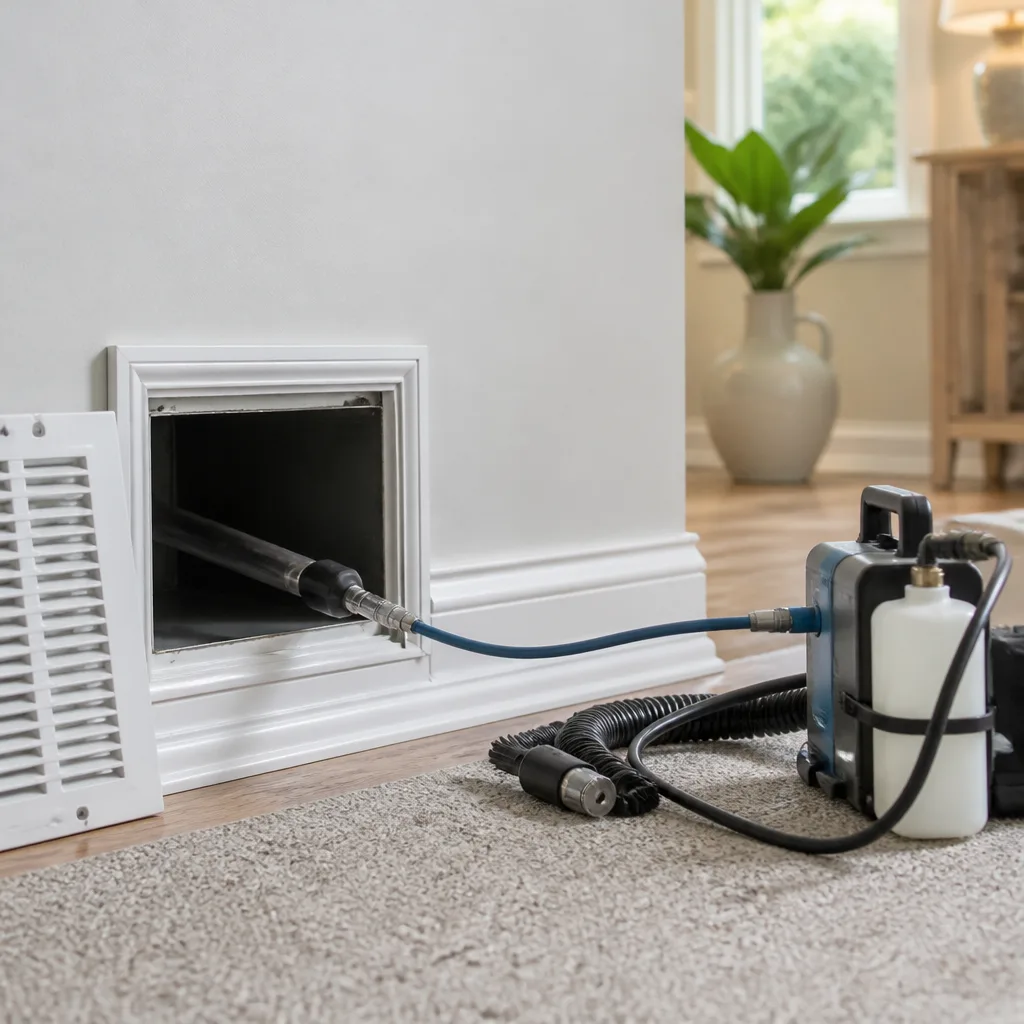 Sanitizing & deodorizing
Whole-system duct and dryer vent check with before-and-after photos - you see exactly what came out of your vents
That "$99 whole-house special" is a bait ad - the real number appears once they are in your hallway, or the "clean" is a shop-vac at the register. We photograph the inside of your ducts before and after instead.
Air Duct Cleaning Maintenance Checklist for San Leandro Homeowners
Most homeowners change their HVAC filter on a schedule and believe they’ve handled duct maintenance. But here’s what that misses: your filter only catches particles after they’ve already left the duct system. The duct lining itself, the plenum box, the return cavity, the connections between register and trunk line – none of that gets addressed by a filter swap. This guide gives San Leandro homeowners a maintenance checklist built around the actual failure points of your specific duct type. Flex duct degrades differently than sheet metal, and fiberboard has its own warning signals. You’ll learn what to inspect yourself, what requires professional scoping, and how to track your system’s condition so future problems get caught before they become expensive.
Styles & brands we work with
- Whole-home duct cleaning
- Dryer vent cleaning
- Camera inspection
- Sanitizing & deodorizing
Quick Answer
An effective air duct cleaning maintenance checklist for San Leandro homes centers on four tasks: inspecting accessible duct components by type (flex, sheet metal, or fiberboard), replacing filters at MERV-appropriate intervals, checking the four homeowner-accessible points (supply registers, return grilles, filter housing, visible plenum), and scheduling professional cleaning every 3 to 5 years or sooner after specific events like wildfire smoke season or renovation work. Duct Cleaning San Leandro provides free estimates for professional assessments – call (855) 356-5880 to schedule one.
Table of Contents
- Understand Your Duct Type First
- The Four Access Points You Can Check Yourself
- San Leandro Seasonal Triggers That Demand Attention
- Flex Duct Checklist: What to Inspect
- Rigid Sheet Metal Checklist: What to Inspect
- Fiberboard Duct Board Checklist: What to Inspect
- How MERV Ratings Interact with Duct Pressure
- Logging Baselines After Professional Cleaning
- Common Mistakes to Avoid
- When to Call a Professional
- Frequently Asked Questions
- The Bottom Line
Understand Your Duct Type First
Every maintenance checklist should start here, because the material your ducts are made from determines what failure looks like. San Leandro homes built in different decades have different duct systems. Older postwar homes frequently have rigid sheet metal. Homes from the 1980s and 1990s often use flex duct in the branch runs. Some mid-century and custom-build properties used fiberboard duct board, especially for trunk lines and plenums. Each of these materials fails differently, and the warning signs you’re watching for are specific to the material. A sagging flex duct run tells you something a sheet metal duct never could. A rust spot on sheet metal means something a fiberboard system won’t show. Before you start inspecting anything, figure out what you actually have. The easiest way is to look in your attic or crawl space, or check what’s visible at the register boot where it meets the floor or wall. If you’re not comfortable doing that, a professional air duct cleaning visit will include that identification, and our team at Duct Cleaning San Leandro documents what we find so you have a clear picture for your own records.
The Four Access Points You Can Check Yourself
You don’t need professional equipment to spot early warning signs. You need to know where to look and what’s normal versus what’s not. There are four places a San Leandro homeowner can meaningfully inspect without specialized tools. Everything beyond these four points requires a pro with a scope and the right rig, because the interior of a duct run simply isn’t visible from the outside.
1. Supply Registers
Remove the register cover (usually two screws or a friction fit) and look at the boot, the metal or plastic connector that transitions from the duct to the register. Check for dust caked on the boot walls, any visible gaps where the boot meets the floor or wall, and whether the damper inside moves freely. A buildup of fine gray dust around the register face while the rest of the house is reasonably clean is a sign the duct interior is shedding or bypassing the filter. If you see black soot-like staining around a supply register, that’s not normal dust – call a professional for an assessment.
2. Return Grilles
Return grilles pull air back toward the system, so they collect the same airborne particles your family breathes. A return grille that’s noticeably dirtier than the surrounding wall means the filter isn’t catching enough, the return duct has a leak pulling in attic or crawl space air, or the return path is undersized. Check the filter behind the return grille if that’s where yours lives. Is it seated properly? Is there a gap where air can bypass the filter entirely? Those gaps let unfiltered air into the system and directly into the ductwork.
3. Filter Housing
Whether your filter sits at the return grille, in a media cabinet near the air handler, or in the furnace itself, the housing matters as much as the filter. A filter that’s crushed, bowed, or doesn’t fit the slot tightly lets air go around it. That bypassed air deposits particles directly into the evaporator coil and duct interior. If you have to force the filter into place, it’s the wrong size. If it rattles or shifts, the housing needs adjustment. These are small fixes that prevent larger duct contamination.
4. Visible Plenum
The plenum is the large box where the main supply trunk connects to the furnace or air handler, and the return plenum does the same on the intake side. In many San Leandro homes, part of the plenum is visible in the attic, garage, or a utility closet. Look for gaps where the plenum meets the equipment, tape that’s peeling or brittle, and any visible dust streaks radiating from a seam. Those streaks indicate air escaping under pressure, which means the system is pulling unconditioned air in from the surrounding space or pushing conditioned air out. Either condition wastes energy and introduces contaminants into the duct system.
San Leandro Seasonal Triggers That Demand Attention
San Leandro’s climate creates a distinct set of conditions that affect duct systems differently than, say, a humid Gulf Coast home or a freezing Midwest one. The Bay Area’s dry summers, the marine layer’s morning moisture pattern, and the increasing frequency of wildfire smoke all leave their mark on duct interiors. Here are the seasonal triggers that should prompt a maintenance check regardless of your last cleaning date.
Post-Wildfire Smoke Season
Wildfire smoke doesn’t just stay outdoors. It gets pulled into the return air stream and circulated through the entire duct system. The fine particulate matter in smoke – the kind that penetrates deep into lungs – settles on duct walls, filter surfaces, and the evaporator coil. What matters for maintenance is that this smoke residue accumulates over days and weeks, even when skies look clear. After a significant smoke event in the Bay Area, check your filter first. If it’s darker than normal or visibly coated, the duct system has been processing smoky air. A filter replacement is the minimum. A duct inspection is the thorough move. We’ve seen systems in San Leandro where smoke odor lingered for weeks simply because the residue sat in the return plenum and trunk line, not because the filter was dirty.
End of Marine Layer Season
The marine layer brings morning humidity, especially in the late spring and early summer. That moisture doesn’t create the swampy conditions of a humid climate, but it does create condensation cycles inside ductwork when the AC runs. Air cools at the coil, warms in the ducts, and the temperature swings can produce micro-condensation on metal surfaces. Over time, that moisture combined with dust creates a film on duct interiors that’s difficult to remove without professional equipment. The practical maintenance point: as the marine layer fades and the dry heat of late summer sets in, schedule a visual inspection of visible duct surfaces. Look for any darkening, streaking, or musty smell when the system first turns on.
Post-Renovation Debris
Any renovation project – drywall sanding, flooring removal, cabinet installation, even painting – fills the indoor air with fine particulate. If the HVAC system ran during the work, that debris got pulled through the return air stream and distributed. This is where a duct system can go from acceptable to heavily contaminated in a matter of days. We recommend shutting the system down during active dusty work when possible. If it did run, a professional duct cleaning with a HEPA-vacuum rig, like the Nikro units we run, is the appropriate response. A standard filter won’t capture construction dust effectively, and the damage is already past it anyway.
Flex Duct Checklist: What to Inspect
Flex duct is a flexible inner liner wrapped in insulation and protected by a vapor barrier. You’ll find it in the branch runs of most San Leandro homes built or renovated since the 1980s. The liner is typically plastic or thin aluminum, and the insulation is fiberglass batting or similar. Flex duct fails by sagging, kinking, tearing, or separating at the connections. Here’s what belongs on your checklist.
- Look for sagging runs. Flex duct should be pulled reasonably taut with support every four to five feet. If you see a run that droops or rests on the attic floor or framing, it’s reducing airflow and collecting condensation. Sagging also stresses the connection points.
- Check for kinks. Flex duct must never make a sharp turn. A kink can cut airflow by over half while the system strains to keep up. You’ll sometimes notice this as a specific room that struggles to heat or cool while others are comfortable.
- Inspect the vapor barrier. The outer plastic layer should be intact, not torn, not taped in random places, and not showing exposed insulation. A compromised vapor barrier allows moisture into the insulation, which degrades it and creates a place for microbial growth.
- Feel for collapsed inner liner. The inner liner can separate from the insulation and collapse inward. If you press gently on the duct and it doesn’t spring back, or if it feels like the layers are sliding apart, the duct needs replacement, not cleaning.
- Suspect rodent activity in attic spaces. The insulation jacket on flex duct is attractive nesting material for rodents. Look for chewed areas, droppings near the duct runs, or sections of insulation missing from the outer layer. Any of these indicate a duct that may be compromised beyond surface contamination.
Flex duct in poor condition can often be replaced more cost-effectively than it can be deep-cleaned. We carry the repair side of this because dryer vent cleaning taught us something important: homeowners want a single call that solves the problem, not a referral to a second company for the ductwork fix.
Rigid Sheet Metal Checklist: What to Inspect
Sheet metal ducts are what they sound like: formed galvanized steel sections, typically rectangular trunk lines and round branch runs, sealed at the joints. They last a long time. But they’re not indestructible, and their failure modes are different from flex duct. Here’s your checklist for rigid sheet metal systems.
- Look for rust and corrosion. Galvanized steel resists rust, but it’s not rust-proof. In a San Leandro attic, the temperature swings and occasional condensation create conditions where rust can form at seams, corners, and where ducts contact framing. Surface rust is manageable. Pitting or rust that flakes away means the metal is thinning.
- Check seam and joint tape. The tape used to seal sheet metal joints – usually foil tape or mastic – degrades over time. It dries, cracks, and peels. A visible gap at a seam means air is escaping there. Your system is moving less conditioned air to the rooms that need it while pulling in air from wherever the duct lives.
- Inspect the register boots. The boots are the transition pieces between the duct run and the register. They take abuse from foot traffic, vacuum cleaners, and shifting floors. Look for boots that have separated from the floor or wall, gaps around the boot, or loose sheet metal screws.
- Listen for metallic popping or pinging. Sheet metal ducts expand and contract with the air temperature. Occasional sounds are normal. But consistent pinging when the system starts and stops can indicate a section that’s not secured or a joint that’s flexing more than it should.
- Check where ducts penetrate walls and floors. These transitions are common failure points. The metal can separate from the framing, creating pathways for attic or crawl space air – and whatever’s in it – to enter the conditioned space.
Sheet metal systems generally tolerate professional cleaning well. The Rotobrush rotary brush systems we run are designed specifically for this kind of material: the brush spins while the vacuum pulls, removing the film that builds on metal surfaces over years of air movement.
Fiberboard Duct Board Checklist: What to Inspect
Fiberboard, or duct board, is a rigid panel product made from fiberglass that’s been compressed and bonded, often with a foil facing on the outside. It’s used for trunk lines and plenums in some San Leandro homes, especially custom builds from the 1970s and 1980s. Duct board is structurally different from metal and flex duct, and it demands a different maintenance approach.
- Look for water staining or swelling. Fiberboard absorbs moisture in a way sheet metal never will. If the board has been wet – from a roof leak, a condensate overflow, or a plumbing failure above – it stains, swells, and loses structural integrity. Swollen fiberboard sags, and a sagging fiberboard plenum is a major airflow problem.
- Check the foil facing for tears. The foil outside the duct board is a vapor barrier. When it’s torn or peeling, moisture can migrate into the board. In the humid mornings that San Leandro gets during marine layer season, that moisture has a place to settle.
- Inspect cut edges and connections. Fiberboard panels are cut and fastened on site. The cut edges are where the material is most vulnerable, and they’re often sealed with tape or mastic. Check that the seals are intact. A failing seal on a fiberboard duct is not just an air leak; it’s a place where the material itself can start to degrade.
- Feel for softness in the board. Press gently on accessible sections. Fiberboard should feel firm. If it’s spongy or gives under light pressure, the binder holding the material together is breaking down. That board needs replacement, not cleaning.
- Be aware of its limitations with aggressive cleaning. Fiberboard can’t withstand the same aggressive mechanical cleaning that metal can. This is why professional assessment matters more than equipment power. A knowledgeable technician adjusts the approach for fiberboard systems rather than blasting away with the same rotary brush used on steel. Our team has the Abatement Technologies units on the truck when a fiberboard system has heavy contamination and needs a gentler, air-scrubbing-focused approach.
Fiberboard systems that have been contaminated by water or mold-adjacent conditions are often better addressed with panel replacement rather than cleaning. We can make that assessment honestly, and we carry the repair capability to act on it in the same visit if replacement is the right call.
How MERV Ratings Interact with Duct Pressure
A MERV rating expresses a filter’s efficiency at capturing particles of specific sizes. Higher MERV means tighter filtration. That sounds like a pure win, and in some situations it is. But there’s a mechanical reality that gets overlooked: a higher-MERV filter is more restrictive. It creates more resistance to airflow, which increases the static pressure in your duct system. And higher static pressure does something you don’t want – it accelerates duct wear.
Here’s how that plays out on the materials. A tight MERV 13 filter raises resistance across the whole system. Every seam, every taped joint, every connection now holds slightly more pressure. For sheet metal, that means more air escaping through aging joints and a subtle strain on the blower motor. For flex duct, that extra pressure pushes outward on the inner liner, and if the liner was already thin or the connections were marginal, you’ve just made the problem worse. For fiberboard with its seams and cut edges, the added pressure finds every weakness in the seal.
The practical guidance: if you plan to upgrade to a MERV 11 or higher filter, have the static pressure checked first. A professional duct assessment will tell you whether your system can handle the added resistance. Many San Leandro homes have duct systems that were barely adequate for the original equipment, and adding a tight filter on top creates a cascade of problems – higher energy use, reduced airflow to far rooms, and accelerated deterioration at every weak point. If you run Honeywell or Aprilaire whole-home air quality equipment, that’s part of the calculation too. We work with and around those systems regularly, and the interaction between your filtration hardware and your duct pressure matters.
For most homes, a MERV 8 filter is the right baseline. It captures the bulk of household dust and allergens without imposing significant resistance. Move to higher MERV only if you have a specific reason – allergies, respiratory conditions, wildfire smoke season – and verify your system can handle it before you make the switch permanent.
Logging Baselines After Professional Cleaning
A maintenance log without a baseline is guesswork. After a professional duct cleaning, you should have a documented starting point: the system’s condition, what was cleaned, what was repaired, and what the technician observed. Without that, you’ll be comparing vague impressions three years later. With it, you can make real comparisons.
Here’s what to record, step by step, so your future maintenance decisions are grounded in specifics rather than memory.
- Date of service and company name. This seems obvious, but it’s the most commonly missing piece. If you need to reference the work later – for a warranty question, a real estate disclosure, or a follow-up assessment – you’ll have it.
- Duct type identified. Flex, sheet metal, fiberboard, or a mix. If your system is mixed, note which runs are which material. This is the foundation for everything else you’ll track.
- Condition notes at each access point. What did the registers, returns, filter housing, and plenum look like before and after? Be specific: “return grille heavily coated with gray dust, cleaned to bare metal,” rather than “a little dirty.”
- Any repairs performed. If duct sealing was done, if a flex run was replaced, if a boot was fastened – that goes in the log. Future inspections should check those same spots for signs that the repair is holding.
- Filter type and MERV installed. You’ll want to know what was in place at the time of cleaning. If you change MERV later, the log links that change to any subsequent duct condition changes.
- Photo documentation. Ask for before-and-after photos of the duct interior. Not every company offers this, but it’s the single most useful baseline you can have. Photos show what “clean” actually looked like, so you have a visual reference for comparison years later.
We provide this kind of documentation after every professional cleaning we do in San Leandro. It’s not a stack of paperwork. It’s a simple record that makes your next maintenance decision easy and defensible. When a homeowner calls us three years later and says, “We’re not sure if it needs cleaning,” the log answers the question.
Common Mistakes to Avoid
- Assuming the filter does all the work. The filter protects the equipment from the air stream, not the duct system from contamination. Duct interiors accumulate fine particulate regardless of how diligently you change filters. The filter catches particles before they reach the coil; it does nothing for what’s already settled on the duct walls.
- Upgrading to a high-MERV filter without checking static pressure. The more restrictive the filter, the harder the system works and the more strain it puts on every seam and connection. In San Leandro homes with aging flex duct or marginal sheet metal runs, this single change can accelerate deterioration measurably.
- Ignoring return-side grilles. Homeowners tend to watch supply registers because that’s where air comes out. But the return side is where contamination enters the system. A dirty return grille means the system is pulling more particulates in, and a leaky return duct means it’s pulling attic or crawl space air directly into the air stream.
- Cleaning without repairing. If a flex duct is sagging or a joint has separated, cleaning the interior is temporary relief at best. The problem recurs because the structural issue keeps allowing contamination in. Duct repair and duct cleaning are two parts of the same maintenance task.
- Waiting for visible black mold to act. By the time visible mold appears at a register or plenum, the contamination inside the system is well established. The time to address moisture in ducts is when you see condensation, smell mustiness on startup, or notice water staining – not when the problem announces itself.
- Using consumer-grade cleaning methods for deeper problems. A shop vac with a hose attachment can clear loose debris near the register, but it can’t reach the trunk line, plenum, or return cavity. Systems with significant buildup need professional equipment – the kind of rig that actually removes the film, not just stirs it up.
When to Call a Professional
Some duct conditions are obvious enough that a homeowner can spot them: a sagging flex run, a rusted seam, a visible gap at a boot. But the interior condition of your duct system – the part that matters most for air quality – isn’t visible without the right equipment. You need professional assessment when you see dust streaking from registers despite clean filters, when a musty odor persists after changing the filter, when specific rooms stay hot or cold regardless of thermostat settings, when you’ve had renovation debris in the home, or when wildfire smoke has been heavy and the smell lingers. Any of these signals indicate contamination or damage beyond the four access points.
Duct Cleaning San Leandro offers free estimates in San Leandro – call (855) 356-5880.
Frequently Asked Questions
Every 3 to 5 years for most San Leandro homes, with two important exceptions: homes with pets, high occupancy, or smokers should lean toward the 3-year mark, and homes that have experienced wildfire smoke events, renovation debris, or water intrusion should schedule an assessment sooner regardless of the calendar. The timeline depends on what’s actually in the ducts, not on a fixed schedule, which is why a professional look at your system is the honest starting point. Call (855) 356-5880 to schedule a free estimate.
The difference is reach and removal. A shop vac attached to a hose can pull loose debris from the first few feet of a duct run. A professional rig like the Rotobrush rotary brush or Nikro HEPA vacuum reaches the entire system – trunk lines, plenums, return cavities – while the brush agitation releases the film that’s bonded to the duct walls. The vacuum then removes it rather than blowing it into the living space. If you’re concerned about fine particulate, smoky residue, or years of accumulated film, a professional setup is the only equipment that addresses it.
You can inspect four access points: supply registers, return grilles, the filter housing, and any visible plenum sections. That covers what’s visible at the endpoints of your system. What you can’t see – the interior of the trunk line, the return cavity, the branch runs behind walls and above ceilings – requires a professional scope. Start with what you can check, and if anything looks off at the access points, the odds are high that the hidden sections need attention too.
No, it does the opposite in many cases. A higher MERV filter captures more particles at the filter, but it also increases resistance and raises static pressure in the duct system. That added pressure stresses every seam, joint, and connection, and it can actually accelerate wear on flex duct and aging sheet metal. Before upgrading MERV, have your static pressure checked. For most homes, a MERV 8 delivers the right balance of filtration and airflow.
Ask what equipment they use. Ask whether they perform duct repair as part of the service. Ask whether they document before-and-after conditions with photos. Ask whether they adjust their approach based on duct material – fiberboard can’t be treated like sheet metal. The answers tell you whether you’re dealing with a specialist or a generalist with a hose. We show up with Rotobrush and Nikro rigs, not a shop vac and a flashlight, and we fix duct damage on the same visit.
New construction and renovation both create duct contamination, but for different reasons. New builds collect construction debris – drywall dust, sawdust, insulation particles – during the build process, and it settles in the ducts before you ever move in. Renovations pull that same debris through a running system and distribute it. In both cases, a professional cleaning establishes a clean baseline so you’re not starting your maintenance log from a contaminated state. Call (855) 356-5880 for a free estimate in San Leandro.
The Bottom Line
A duct maintenance checklist is not a filter schedule. It’s a system for watching the right components – the liner, the plenum, the return cavity, the seams and connections – based on what your ducts are made of and what San Leandro’s seasons throw at them. Flex duct sags and kinks. Sheet metal rusts and separates at the joints. Fiberboard absorbs moisture and breaks down. Each material has its own failure signature, and a useful checklist tracks those signatures over time. The homeowner checks four access points. The professional checks everything else. You document a baseline, log changes, and make decisions from evidence rather than guesswork. Your ducts carry every breath your family takes indoors. One visit with the right equipment – clean ducts, sealed repairs, safer dryer vent – resets the baseline and gives you a maintenance log worth keeping.
Written by the team at Duct Cleaning San Leandro, serving San Leandro since 2018.
See the difference
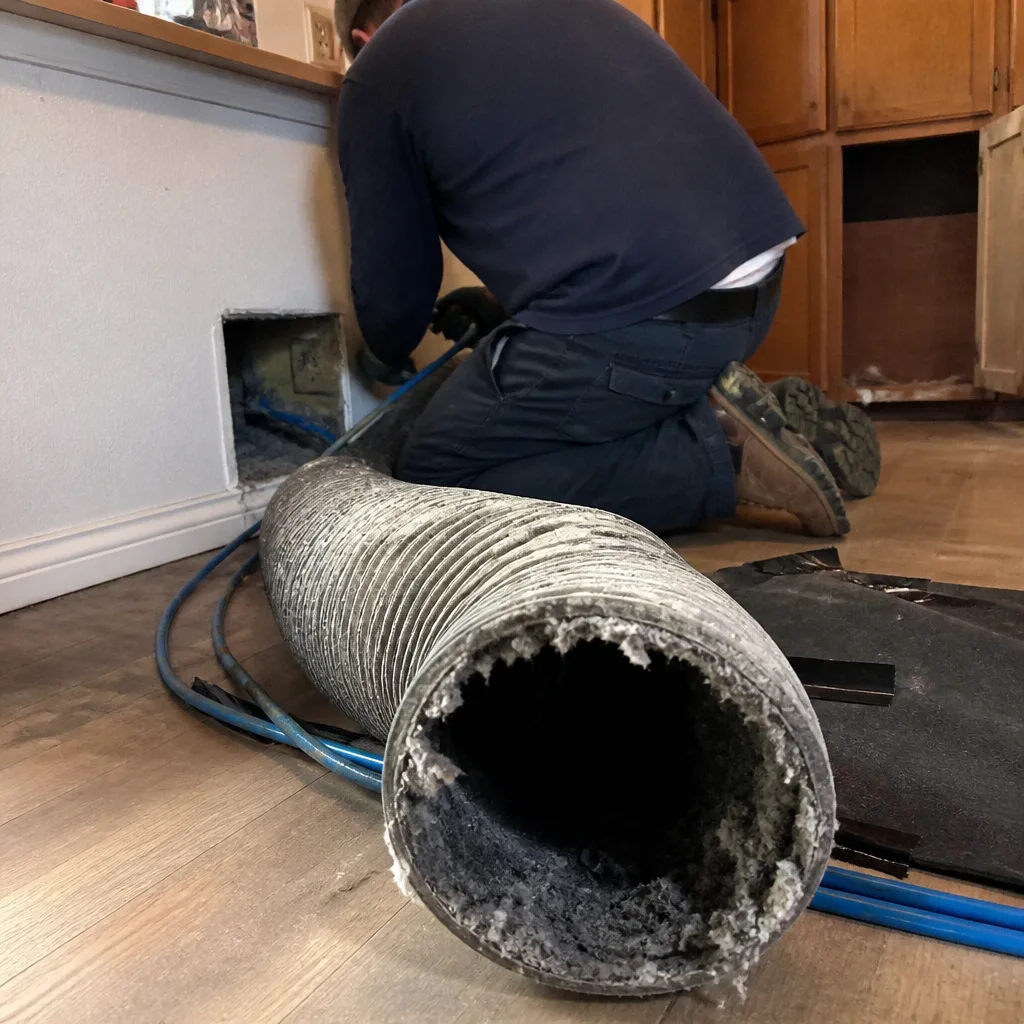 Before
 After
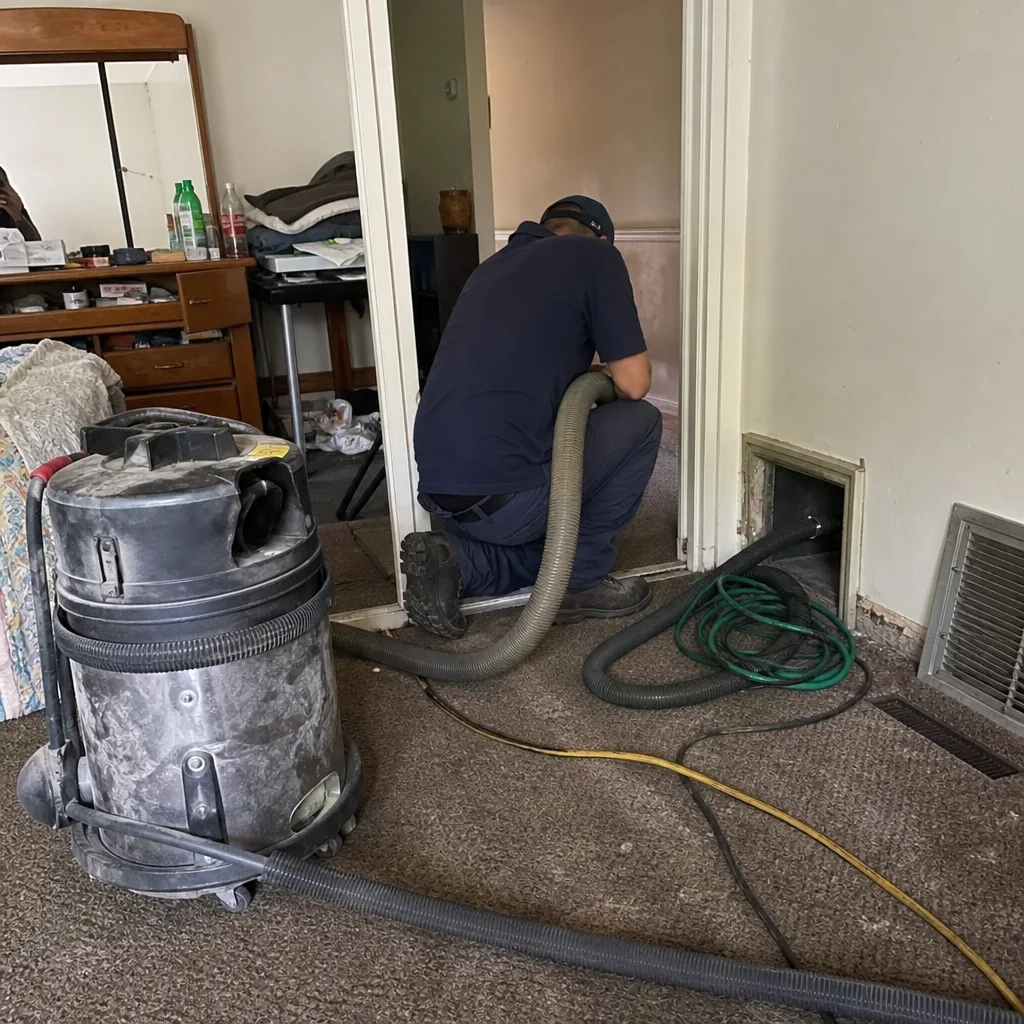 Before
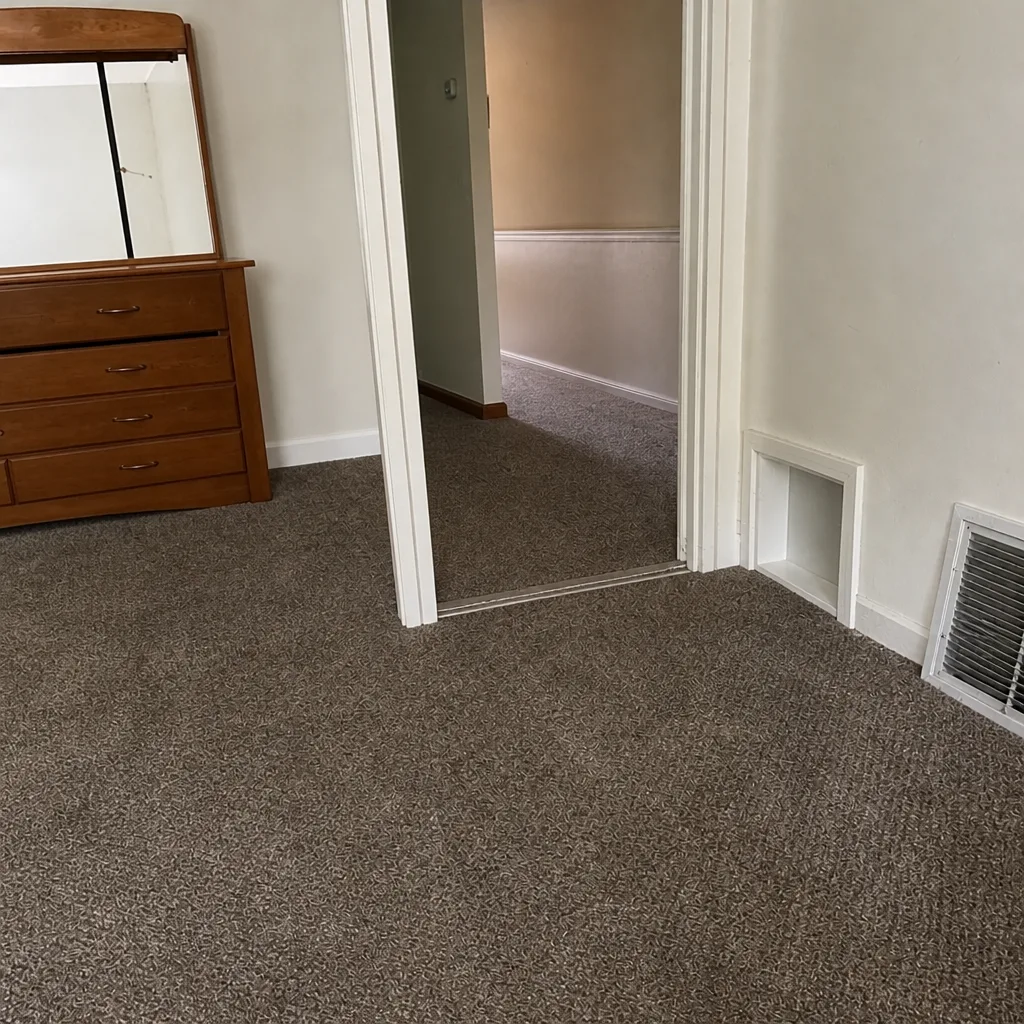 After
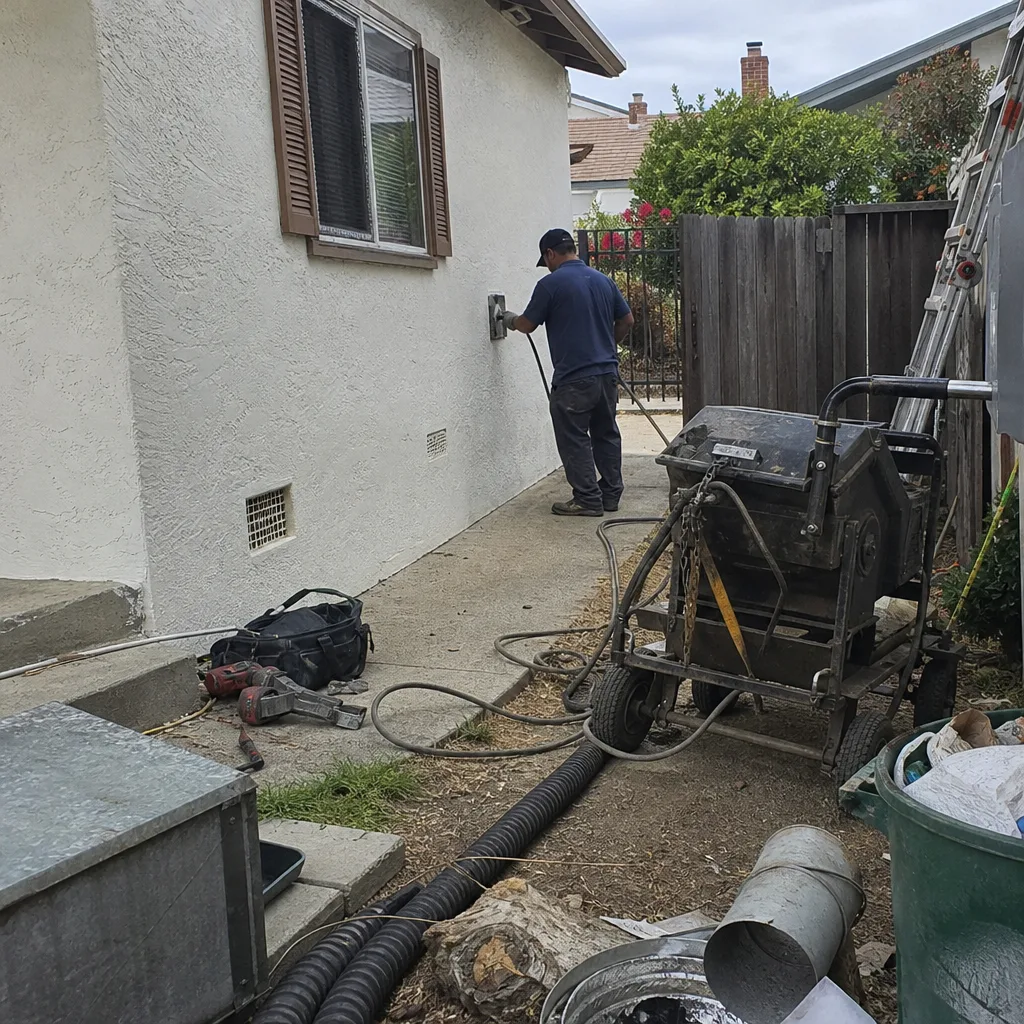 Before
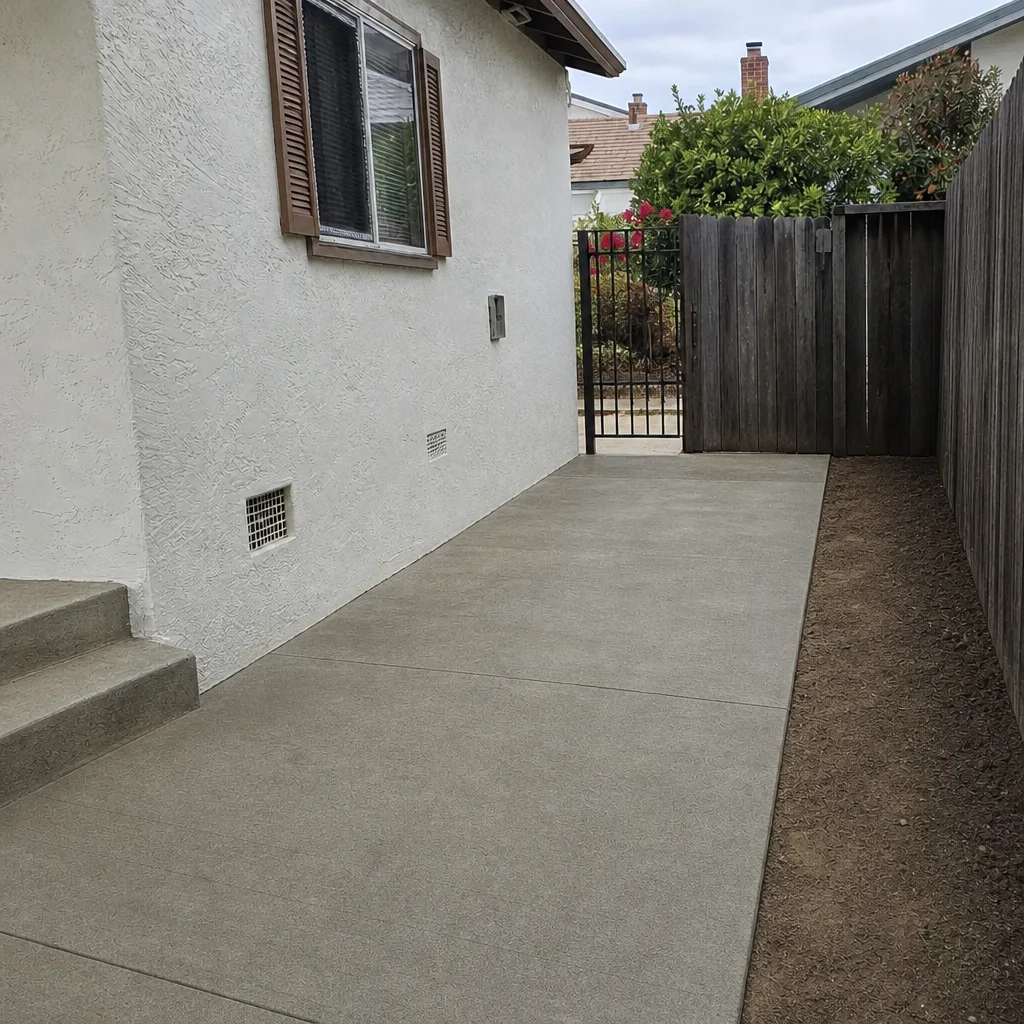 After